Showing posts with label 135. Show all posts
Showing posts with label 135. Show all posts
Saturday, April 26, 2014
About the film picker and developing tanks
This is the last video I have posted on Youtube, I explain a bit of the film picker and developing tanks.

Friday, April 11, 2014
The last part of the exposure triangle: ƒ numbers.
Last week’s post was all about shutter speeds, and if we remember what was all about, it explained how shutter speed affects how moving objects may or not may be seen, stilled or blurry.
This post is going to be the finale of the triangle exposure, next week I am going to be explaining how to mesure light, so we will be able to know how much light our photograph is going to need.
Before shutter speeds existed, the ƒ numbers were already invented. The photograph camera as an imitation of the human eye, and the knowledge about stenopeic (from greek, stretch opening). But the human eye has something called iris, which, controls the pass through light just by altering the area of light that is passing through, but the eye is capable of maintaining most of the things focused thanks to the ability of having a focal length, while in the stenopeic camera, the little opening is the focal length itself. So adding arrangements of crystals, we are forcing the camera to be able to work almost like the human eye. Also cameras were able to have more sophisticated crystal arrangements, and with it different focal lengths without the need to change the size of the camera. And with it, the lenses gained the ability to have and iris, but in photography are more often called diaphragm or ƒ numbers.
The ƒ numbers are defined by the area formed by the iris, this means the area of light that is going to pass trough and so, also the go by double the area or the half of area, but defining this is not like the ones in time or ISO values. The ƒ number is defined as:
ƒ = √(2n)0≤n<∞
Square root of two power of n, in which, n is equal and greater than cero and less than infinity.
So in this case n is the number that is going to go in increments of 1, starting from zero. Doing this so, is going to give us approximate numbers to the ƒ numbers. The most common are:
ƒ 1.4
ƒ 2.0
ƒ 2.8
ƒ 4.0
ƒ 5.6
ƒ 8.0
ƒ 11
ƒ 16
ƒ 22
ƒ 32
ƒ 64
ƒ 90.5
ƒ 128
From top to below the quantity of light that is passing trough is the half, so ƒ 1.4 lets pass more light than ƒ 2.0. And just like the last article mentions it, they had become with half steps or third steps. Like ƒ 1.8 is half step of ƒ 1.4 and ƒ 2.0.

The second most important of ƒ numbers is the Depth of Field (DoF)
Just like the shutter speed, the ƒ number will modify the end result of a photograph, but in this case the difference is about the sharpness of what the lens is going to see. And that is called the depth of field. The DoF, to abbreviate, is the distance in front of the lens that is going to be sharp, this distance will be around the the focused object, this will apply in front and behind it.
This happens because wider openings will let pass "irregular" light, that is going to make that light coming from places outer the DoF, be projected in the film as blurry or diffused, as we go closing the opening, this will force light to pass more concentrated trough the lens, something like a stenopeic camera, and increases de DoF, making most of things defined.
 |
| This diagram shows how the DoF go in front and behind the focused subject. |
 |
| ƒ 1.8 |
 |
| ƒ 2.8 |
 |
| ƒ 4.0 |
 |
| ƒ 5.6 |
 |
| ƒ 8.0 |
 |
| ƒ 11 |
 |
| ƒ 16 |
As you can appreciate, as the aperture goes smaller the quantity of sharp objects increase, at ƒ 1.8 only the elephant is focused, but everything behind and in front of it is "unfocused", above ƒ 11 the Crystal Frog and the Golden Cat became sharp enough, but if you put attention to the background, the line behind is kind of blurry, maybe the next aperture value will define it.
In more serious photos, controlling the DoF will force the viewer to concentrate in only one thing, as you can see in the first images, even if the Golden Cat shines in the background, your attention concentrates on the Elephant, so mastering this technique for portraits is quite a rule, so your subject will be over all the things.
In the other hand if we try to do a landscape or we want to see the most details on everything we are going to focus on smaller apertures, preferable above ƒ 5.6, as in the example, almost all the toys are seen clearly.
There are other ways to have shallow DoF, but that depends highly in the focal length, and will be discussed on other entry.
Wednesday, April 2, 2014
Some examples of different ISO sensibilities
Last time I just explained different ISO sensibilities but I did not give some examples to exemplify what I wrote.
All of the next examples are 8x10 enlargements I made.

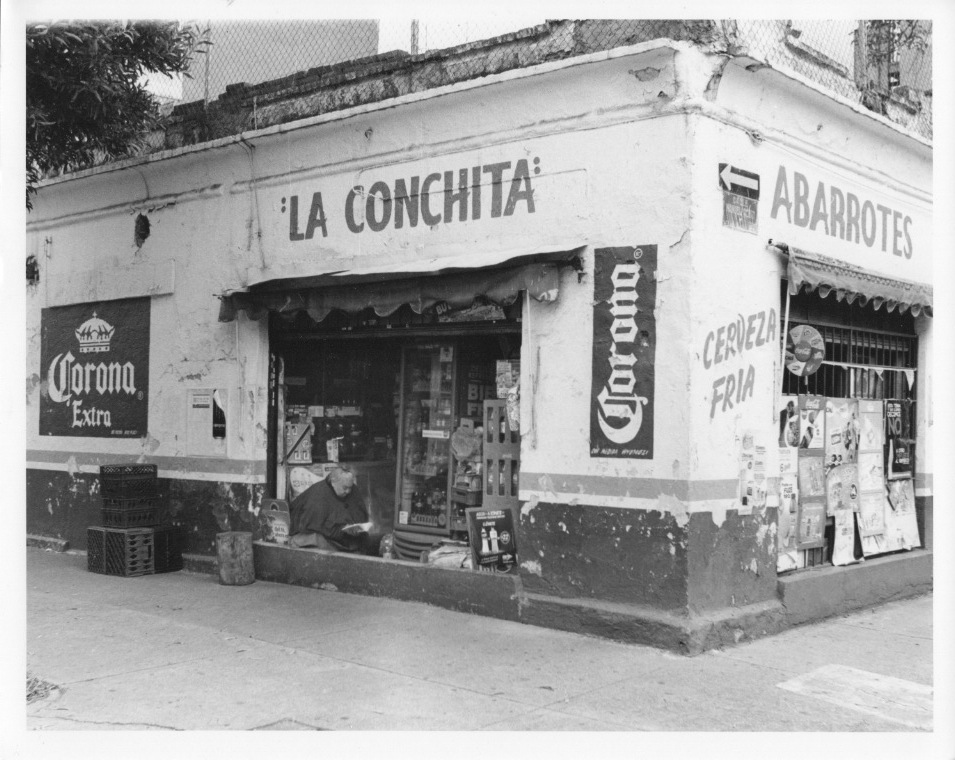

All of the next examples are 8x10 enlargements I made.
This one was shot with Ilford HP5 at 400 ISO, as you can appreciate grain is not so visible, but not invisible. It can handle good detail.
This film was Ilford Delta 400, shot at 400 ISO. Compared with the HP5 grain is smaller and holds better details. This film can emulate the feeling of a 100 ISO film.
This last image was shot with Delta 3200, at 3200, at first glance grain is visible, but as was developed with Ilford Micrphen, grain does not explode, and gives a nice texture to the image, even a warm one. But some details become diffuse
Sorry if I did not published a 100 ISO photograph, I was not able to find one.
Wednesday, March 19, 2014
Detail in some Cameras and Bulk Film
The passion of taking photographs has not being limited to just some professionals, but ironically, the best materials are branded as Pro. But what Pro stands for, well at least in photography, or what have I understand, is referred as the knowledge on how to use the camera, and profit at its best the film, during the shooting, the developing and printing of the image.
Most Pro cameras have extended functions, that may not be used by the amateur, even pro, photographers. In the other hand, film marketed as Pro will have a much wider ability to be used, as pro films will have a much smaller grain, compared to the same speed ratio, and a much higher latitude. Latitude means that a film can hold other ISO (ASA/DIN) than the one is marketed as. For example, Ilford Delta 400 film can be exposed as an 200 ISO or as an 3600 ISO, and whatever is in between. So as for film, the extra money gives extra abilities that used properly will be able to make you get better results.
The video of this week will be focused on my cameras, and how to use bulk film.
For the next video in the series, I show how to fill 35 mm magazines with the bulk film loader. For this instance, these are the things you are going to be needing:
Most Pro cameras have extended functions, that may not be used by the amateur, even pro, photographers. In the other hand, film marketed as Pro will have a much wider ability to be used, as pro films will have a much smaller grain, compared to the same speed ratio, and a much higher latitude. Latitude means that a film can hold other ISO (ASA/DIN) than the one is marketed as. For example, Ilford Delta 400 film can be exposed as an 200 ISO or as an 3600 ISO, and whatever is in between. So as for film, the extra money gives extra abilities that used properly will be able to make you get better results.
The video of this week will be focused on my cameras, and how to use bulk film.
For the next video in the series, I show how to fill 35 mm magazines with the bulk film loader. For this instance, these are the things you are going to be needing:
- Bulk loader
- Bulk film
- Scissors
- Tape
- Empty magazines with at least a finger wide film out or refillable magazines and some useless film
- Dark Room* or light probe bag
Bulk film may be kind of expensive at the start, but as you go shooting, it is cheaper than buying new film in small packages. A bulk film will produce 19 to 20 rolls, that will cost the half than buying those same 19 or 20 rolls, also you have the freedom to choose how many exposures each load have. This is useful if you like to think each shot and you take some time to finish it, also gives you the easiness of have one themed rolls, so printing may become more easy, as most exposures have little change in lighting settings.
Friday, March 14, 2014
About cameras and film formats
Well as I said before, I will not go into the realm of brands, instead of that, I would prefer to talk about kinds of cameras, by the format they can hold. You will find more precise information through books or the Internet itself. This entry is more focused on what are you going to need after to develop and print your negatives.
Since the start of photography inventors and engineers developed quite a variety of film, in size and form. Today we still have three major flavors of film, and so three kinds of cameras:
Since the start of photography inventors and engineers developed quite a variety of film, in size and form. Today we still have three major flavors of film, and so three kinds of cameras:
- 135 film: The most used film, even before used by photography (its first primary use was to do cinema), from hi-tech SLR to just plastic point-&shot and even disposable cameras. One of the most recognizable format.
- The pros are:
- Easy to handle, it is self contained inside a canister, last generation cameras (even point-&shot) were able to determine the film speed, thanks to DX codes.
- Easy to find, as the most famous member of the film family it is still available in convenience stores, super markets and photographic materials supply.
- Wide variety of cameras, in the second hand market, flea markets and forgotten attics, you have a great chance of finding a usable cameras.
- Most amateur photo stuff was designed for this format.
- Any enlarger will be prepared to let you print images.
- The cons are:
- It is the smallest of film sizes found near, it captures great detail, but you are not going to be able to print enlargements bigger than 60" (in.) (It is not so con but is the classic one!).
- Without the correct tools, like a film picker, you are going to end breaking a lot of canisters, which can make you spend a little bit more of money. If you wish to save some pennies, it is worthwhile to search for bulk film, is a package that contains 100 ft. (30,5 m) of film, without the canisters. I will discuss about bulk film latter.
- 120 film (or 6x6): This is a bigger film, it was the first to be commercialized by Kodak to easy to use market, it is older than 135. It is the favorite flavor of pro photographers, the cameras are not that big, but thanks to the size of the film you are going to get a lot of details, this was also the favorite size of NASA, most space photographs were made with Hasselblads.
- The pros are:
- Great detail, capable of doing much bigger enlargements.
- Some cameras were able to have 6x6 or 6x4 or 6x4,5, so the photographer was not constrained to just one aspect ratio.
- Most cameras have the ability to change were the film is loaded, so the photographer was able to change from B&W to color to slide, without the need to finish the film.
- The cons are:
- More oriented to pro markets, so cameras are quite expensive, even used ones, do not forget accessories.
- Due to the fact the film is bigger, you may need to have an enlarger capable of hold the format, it is also recomendable to have an 80 mm lens for the enlarger.
- If not very used to it, you are able to spoil the film, because the film is just winded in a spool and covered by a special paper.
- Only 12 photographs by package.
- Plates: The oldest brother from the family, it has evolved through the years but preserves the aura. The favorite of studio photographers, as the cameras are big, bigger than your head, and maybe your chest, you are attached to its stand, hopefully with little wheels so it can move a bit.
- The pros are:
- Best quality, most plates nowadays are about 6x4 in. (10x15 cm), if you shot slides the colors are the most amazing than any Photoshoped photograph and if compared to a digital realm, a photograph from a plate would be the equivalent of using an 80 megapixel camera.
- No need to do enlargements, photographs can be positive by contact printing.
- Most cameras have a tilting and shifting lens, capable of modify the focus plane and/or the fugue of lines, making them really vertical.
- The cons are:
- Plates can not be developed in small tanks, can be done in trays, but with any kind of light, or can be processed in bigger tanks, oriented to printing processes.
- Cameras are so big, is very difficult to go around with them, is like going out with a mini fridge.
- Also you need to carry out a case for holding plates, as the holder can only have one at a time, later iterations from Kodak were able to hold two plates, one against the other.
This has been quite a fair amount of information. In my case, I use 135 film, mainly because my first camera is that format, then the older cameras from my house are also that format (just some point-&-shots). When I am able to buy a medium format (120) camera, I will inter to that realm, hope so soon. But in both cases, in the developing process are the same actions, the only considering point is about developing tanks. If you get a plastic developing tank, like the ones from Kaiser, the spirals can be size changed, so they can handle 135, 126 (a dead format) and 120, just be sure is the taller tank, the one that can handle two 135 at a time. If you are more likely to have metal spirals, you need to have the tank and the spiral for each format, in the case of the 120 tanks you can develop two 135 at the same time.
As mentioned with the plates, only if you have the tank for print processing the procedure is not that easy, as developing must be done with trays and there is not any safelight to use with. I recommend to start with 135 or 120, so they are the most easy to use formats.
Subscribe to:
Posts (Atom)